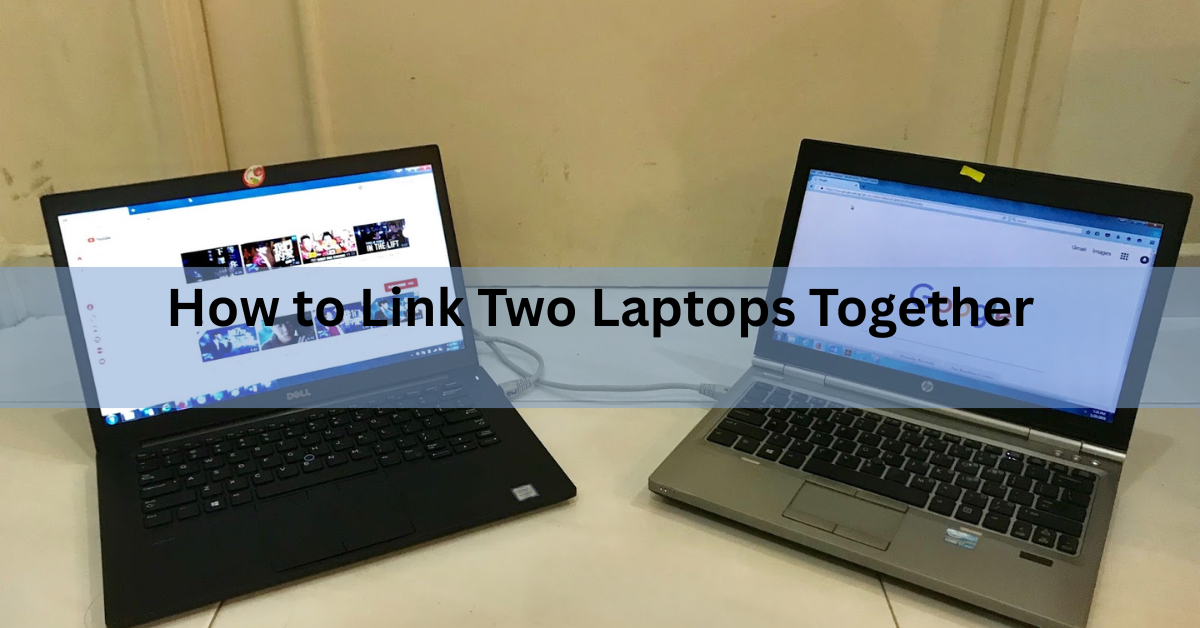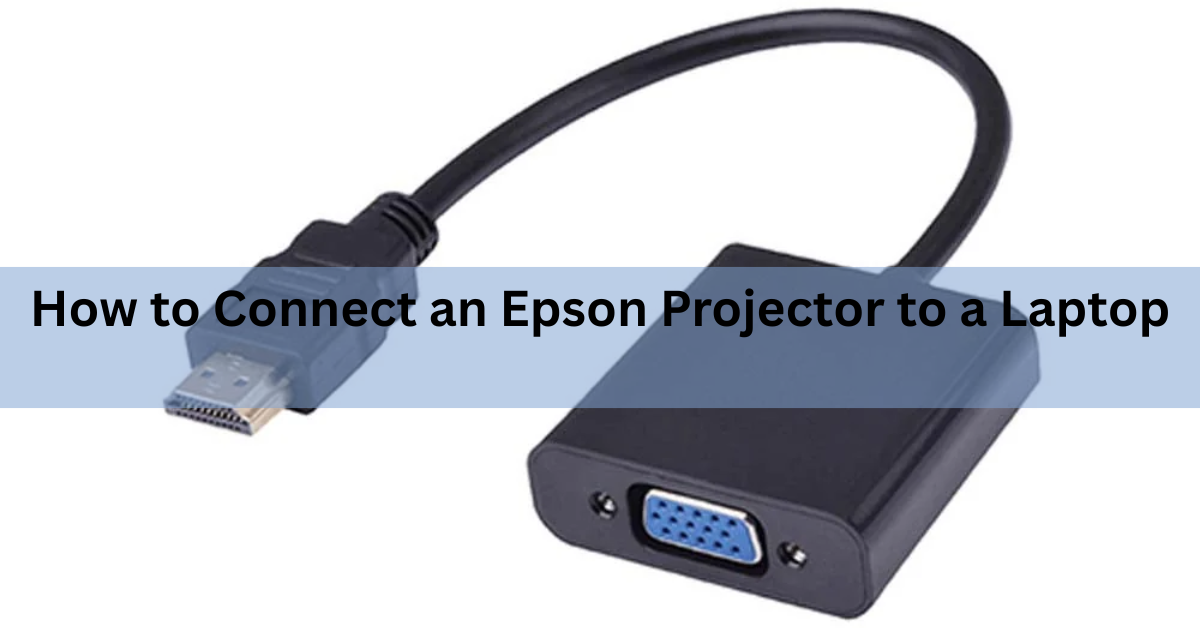
The quickest way is with an HDMI cable. Plug one end into the projector’s HDMI port and the other into your laptop, switch both on, then press the Source Search button on the projector or its remote. On Windows, hold the Windows key and press P, then choose Duplicate. On a Mac, open System Settings, click Displays, and set the projector to mirror your built-in display.
That covers most setups in about a minute. If your ports don’t match, if you want to skip cables entirely, or if the screen stays stubbornly blank, keep reading.
Which cable do you need?
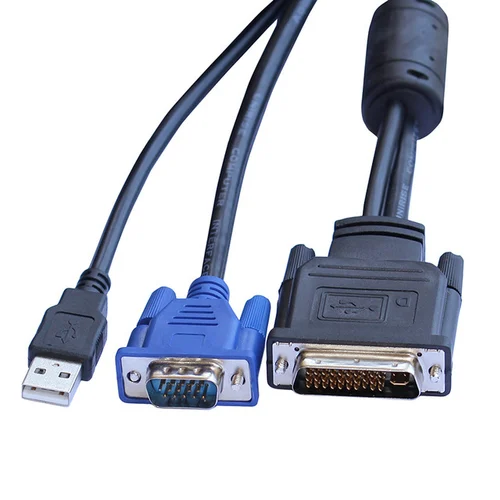
Look at the back of the projector before you buy anything. Nearly every Epson projector sold in the past decade has an HDMI port, a blue 15-pin socket labelled Computer (that one is VGA), and a small square USB-B port. Business models often carry two HDMI inputs, marked HDMI1 and HDMI2.
Then check the laptop. Slim models made in the last few years often have USB-C and nothing else.
| Port on your laptop | Port on the projector | What you need |
|---|---|---|
| HDMI | HDMI | HDMI cable |
| USB-C or Thunderbolt | HDMI | USB-C to HDMI cable, or a USB-C adapter |
| Mini or micro HDMI | HDMI | Mini or micro HDMI to HDMI cable |
| VGA | Computer | VGA cable |
| HDMI, older projector | Computer | Powered HDMI to VGA adapter |
| USB-A or USB-C | USB-B (square) | USB-A to USB-B cable |
One catch with USB-C: not every port sends video. It has to support DisplayPort output. Thunderbolt ports, marked with a small lightning bolt, do. So do ports printed with a D-shaped DisplayPort logo. If yours carries neither symbol, check the laptop’s spec sheet before you spend money on an adapter.
How to connect with HDMI
This is the one to reach for whenever both machines have the port, because it carries sound as well as picture and needs no software.
- Plug the projector into a wall socket and press its power button. Give it about half a minute to warm up. On older models with an A/V Mute slide over the lens, push the slide fully open.
- Run the HDMI cable from the projector to the laptop. If the projector has two HDMI ports, note the number on the one you used.
- Press Source Search on the projector or remote until the picture appears. On models with a Home screen, press Home and pick the HDMI input from the list instead.
- On the laptop, hold the Windows key and press P, then choose Duplicate. On a Mac the desktop usually appears on its own within a few seconds.
- Turn the focus ring to sharpen the text, and use the zoom ring or the projector’s zoom buttons to size the picture to the screen.
HDMI carries picture and sound down a single cable. Every other connection in this guide needs either a second cable or a settings change before you hear anything.
How to connect with a VGA cable
Use the blue Computer port. Push the plug in squarely and tighten both thumbscrews, because a half-seated VGA plug is the classic cause of a picture that comes out pink or green. Then press Source Search and pick Computer.
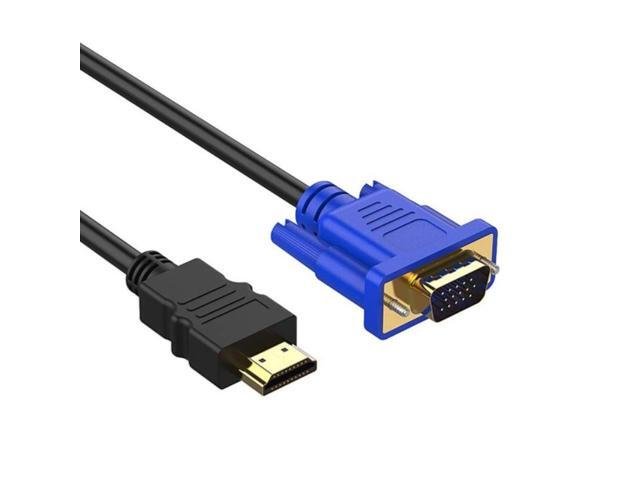
VGA sends picture only. For sound, run a 3.5mm audio cable from the laptop’s headphone socket to the projector’s Audio In socket.
VGA is an analogue signal, so text can look slightly smeared or shifted sideways. The Tracking and Sync settings in the projector’s Signal menu clean that up.
How to connect over USB
Many Epson projectors accept video through an ordinary USB cable, using a feature called USB Display, so one cable carries both picture and sound. You need a USB-A to USB-B cable, the same kind that comes with most printers.
- Press Menu on the remote and set USB Type B to USB Display. It sits in the Extended menu on most models and the External menu on some newer ones.
- Turn on the laptop and let it finish starting up.
- Plug the square end into the projector’s USB-B port and the flat end into any USB port on the laptop.
- The first time you do this, small setup software installs itself. On Windows it runs automatically, or you can open the EPSON_PJ_UD drive in File Explorer and start it by hand. On a Mac, a setup folder opens in Finder and you double-click the USB Display installer.
- The laptop screen appears a few seconds later.
USB Display handles slides, spreadsheets and documents well. It struggles with video, because moving pictures need more bandwidth than the USB link comfortably carries. Use HDMI for anything with motion in it.
How to connect wirelessly
Two routes exist, and which one you use depends on the model. Check the specs first, because some Epson projectors need a wireless LAN module plugged into the USB-A port while others have Wi-Fi built in.
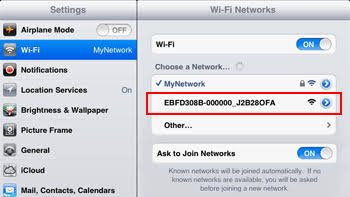
Epson iProjection works on both Windows and Mac. On the projector, press Menu, open the Network menu and switch Wireless LAN on, then open Network Configuration and the Wireless LAN menu. Set Connection Mode to Quick for a direct link between projector and laptop, or Advanced to put the projector on your existing network. Save and exit. The standby screen then shows the projector name, the network name and a keyword. Install the software from Epson’s wireless projector support page, open it on the laptop, pick the same connection mode, select your projector and type in the keyword if it asks for one.
If the projector never appears in the list, both machines have to be on the same network, and the laptop’s firewall has to let the software through. On a work laptop, that firewall is usually the culprit.
Screen Mirroring is simpler, but it only exists on models that list it and it only works from Windows. Press the LAN or Wireless button on the remote to switch to the Screen Mirroring source. On Windows 11, click the speaker icon in the taskbar and choose Cast. On Windows 10, hold the Windows key and press K. Pick the projector from the list, and type the PIN shown on the projected standby screen if one appears.
Macs cannot use Screen Mirroring, because it runs on Miracast, so Mac users take the iProjection route.
Duplicate or extend?
Duplicate puts the same image on both screens and suits almost every presentation. Extend treats the projector as a second monitor, which is what you want if you use presenter notes in PowerPoint or Keynote and would rather the room did not see them.
On Windows, hold the Windows key and press P. A panel slides in from the right with four choices: PC screen only, Duplicate, Extend, and Second screen only.
On a Mac, open the Apple menu, click System Settings, then Displays. Click the projector’s name, open the “Use as” menu and choose Mirror for Built-in Display or Extended Display. Apple’s guide to connecting displays to a Mac also sets out which adapter suits which port, which helps on machines that only have USB-C.
One more step is worth the ten seconds it takes. If your laptop runs at 1920 by 1080 and the projector is a 1280 by 800 model, the projector shrinks everything to fit and fine text goes soft. Setting the laptop’s resolution to match the projector’s native resolution gives a noticeably sharper picture.
How to get sound out of the projector
Over HDMI or USB Display, sound travels with the picture, but Windows sometimes keeps playing through the laptop speakers anyway. Open Settings, then System, then Sound, and choose the projector as the output device. On a Mac it is System Settings, then Sound, then Output.
Over VGA you need that separate 3.5mm cable running into the projector’s Audio In socket. There is no way around it, because VGA carries no audio at all.
Speakers built into business projectors are small, often only a watt or two. That is fine for a voice in a meeting room and thin for anything else, so send film and music to a separate speaker.
Fixes when the screen stays blank
Nine times out of ten the projector is showing the wrong input. Press Source Search and let it cycle through, waiting a few seconds on each one before judging it.
If that does not do it, work down this list:
- Check the status light is blue and steady, and that the A/V Mute slide is open.
- On Windows, press the Windows key and P and choose Duplicate. On older laptops the same job is done by holding Fn and pressing the function key with a small monitor icon on it, usually somewhere between F4 and F8.
- Unplug both ends of the cable and push them back in firmly, then try a different cable. A failing HDMI cable produces exactly this symptom, and long runs fail more often than short ones.
- Plug the adapter straight into the laptop rather than through a hub, and avoid chaining two adapters together.
- Restart the laptop with the cable already connected, since Windows and macOS look for attached displays while starting up.
- Update the graphics driver, especially on a laptop that switches between two graphics chips.
If the picture is there but crooked or clipped, that is a positioning problem rather than a connection one. Set the projector square to the wall, use the keystone slider or buttons to straighten the edges, and check that the Aspect setting in the projector’s Signal menu matches your laptop’s screen shape.
Frequently asked questions
Why does my Epson projector say “No signal” when the cable is plugged in?
Almost always because the projector is set to the wrong input. Press Source Search on the remote and wait a few seconds on each one. If it still fails, press the Windows key and P and pick Duplicate, then try a different cable.
Can I connect a laptop that only has USB-C ports?
Yes, with a USB-C to HDMI cable or adapter, as long as that port supports DisplayPort output. Thunderbolt ports do. Charging-only USB-C ports do not, so check the laptop’s specs before buying.
How do I connect without any cable at all?
Install Epson iProjection on the laptop, turn Wireless LAN on in the projector’s Network menu, then connect to the projector from the software. Some models also support Screen Mirroring from Windows, which needs no software.
Why is the projected picture blurry or cut off at the edges?
Turn the focus ring first. If text is still soft, set the laptop’s resolution to match the projector’s native resolution. Clipped edges usually mean the Aspect setting or the keystone correction needs adjusting.
Will sound come through the projector automatically?
Over HDMI it usually does, though Windows sometimes keeps the audio on the laptop speakers until you change the output device in Sound settings. Over VGA it never does, because VGA carries picture only.
Conclusion
For most people the whole job is HDMI, Source Search, and the Windows key with P. Reach for VGA only when the projector is old, use USB Display when you have nothing else and only need slides, and set up iProjection when you want to present without a cable across the floor. You know it has gone right when the picture fills the screen, the edges are square, the text is crisp, and the sound comes out of whichever speaker you picked.
Recommended Articles:
How to Measure Laptop Dimensions: Full Step-by-Step Guide
RTX 5050 Laptop vs RTX 4070 Laptop: Which One Should You Buy?
How to Restore a Toshiba Satellite Laptop to Factory Settings