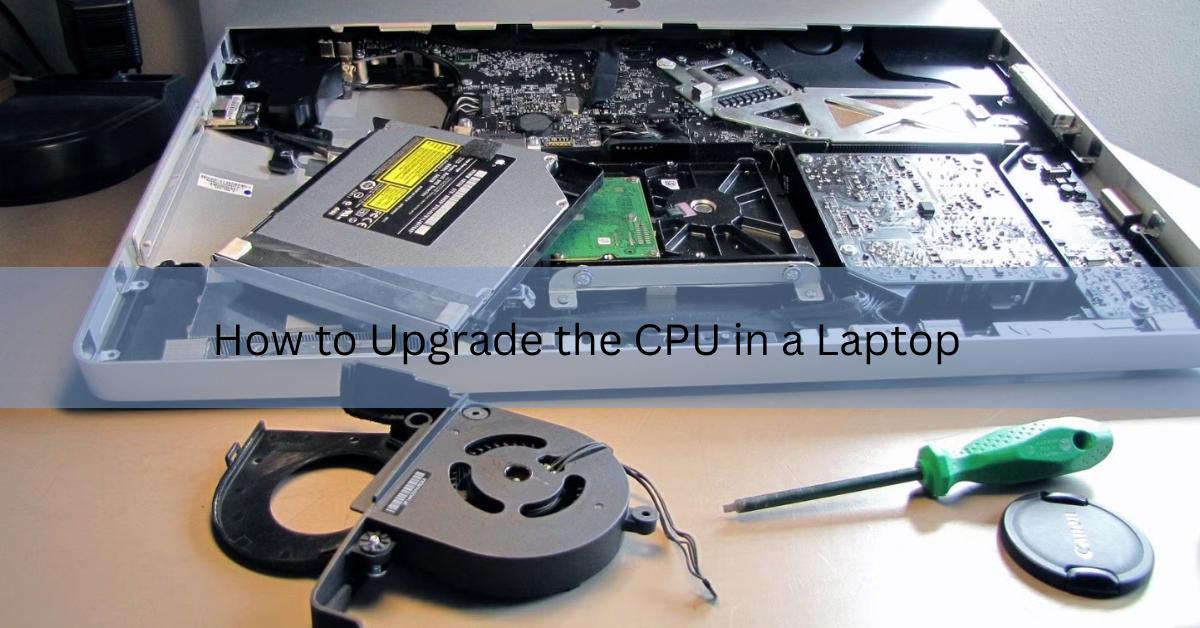
Here is the short, honest answer: on most laptops made in the last decade, you cannot upgrade the CPU. The processor is soldered straight onto the motherboard, so there is nothing to unplug and nothing to swap in. A smaller group of older laptops, mostly from around 2014 and earlier, use a socketed CPU that can be replaced, and for those the job is doable at home with patience and the right chip.
So the real task is not “how do I swap the chip” but “does my laptop even allow it, and if not, what should I do instead.” This guide walks you through both. You will learn how to tell in a few minutes which type you have, how to do the swap safely if you are one of the lucky ones, and which upgrades give you a faster laptop when the CPU is off the table.
Can you upgrade the CPU in a laptop?
Sometimes, but not usually. Whether you can comes down to how the processor is attached to the board.
Laptop CPUs mount in one of two ways. A soldered CPU is fused to the motherboard with tiny balls of solder. This is called BGA, short for ball grid array, and it is what nearly all modern laptops use because it is thin, tough, and cheap to build. A soldered chip is permanent. You cannot remove it without professional rework tools, and even then a new chip has to match the board exactly, so for a normal owner it is a dead end.
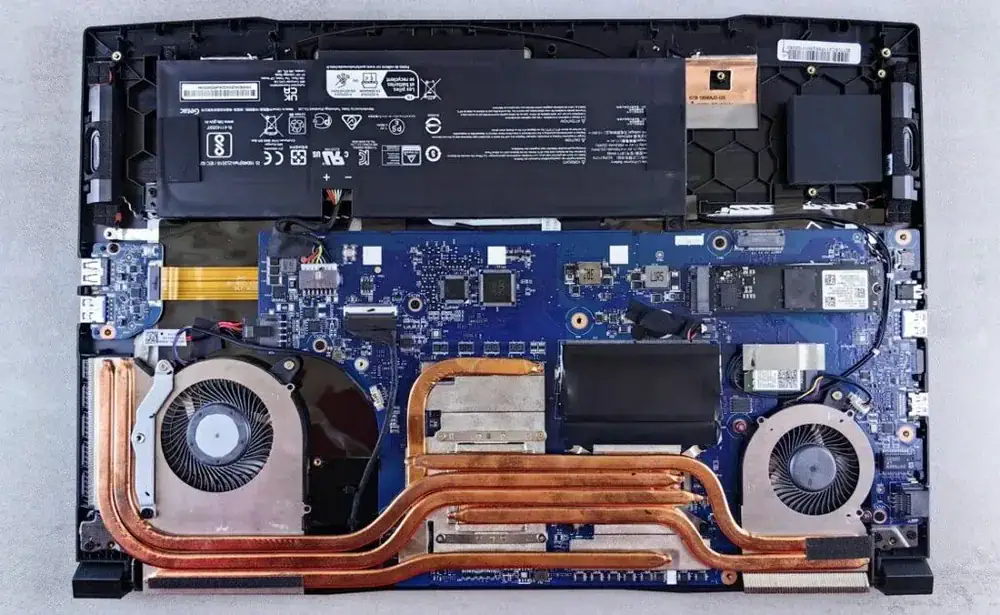
A socketed CPU sits in a holder on the board and can be lifted out. On laptops this is usually a PGA socket, short for pin grid array, where the pins are on the chip itself. If your laptop has one of these, you can replace the processor, as long as you pick a compatible chip and your BIOS supports it.
Rule of thumb: if your laptop is from 2015 or later, assume the CPU is soldered and skip to the alternatives near the end. If it is older, especially a 2012 to 2014 business or gaming model, there is a real chance it is socketed and worth checking.
This shift happened for a reason. Manufacturers moved to soldered chips to make laptops thinner and lighter, and a soldered joint also handles vibration and heat well. The trade-off is that the CPU is fixed for the life of the machine. It is not a conspiracy against upgraders, it is just how compact devices are built now.
First, find out if your laptop’s CPU is socketed or soldered
Before you buy anything or reach for a screwdriver, confirm which type you have. Getting this wrong wastes money on a chip you can never fit. There are two reliable checks, and you can do the first without touching a screw.
Check the CPU package with free software
The fastest method is a small free tool called CPU-Z. Download it from the maker’s site, install it, and open the CPU tab. Look at the field labeled Package. If it says something with BGA in it, like FCBGA1440, your chip is soldered and cannot be upgraded. If it shows PGA, like rPGA988, your chip sits in a socket and can be swapped.
This one field answers the big question for most people. It reads the processor directly, so you are not guessing from the model name.
Check the service manual and shipped configurations
The second check is the manufacturer’s own paperwork. Search for your exact model plus “service manual” and download the PDF from the maker’s support page. The manual shows how the machine comes apart and often names the socket or lists which processors the board shipped with. If several different CPUs were sold in the same model line, that is a strong hint the chip is socketed, because a soldered board is usually tied to one specific chip.
You can also look up your model’s original configurations on the maker’s support site using the serial or service tag. Note every CPU that model was sold with. Those chips share your board and socket, which makes them the safest upgrade targets if a swap is possible.
How to check without opening the laptop
You can get almost all the way to a decision without a single screw removed. Here is the order that saves the most time.
- Run CPU-Z and read the Package field. BGA means stop here; the chip is soldered. PGA means keep going.
- Note your exact CPU model from the same CPU-Z tab, for example Intel Core i7-3720QM.
- Search your model plus “service manual” and confirm the socket name and whether the CPU is listed as replaceable.
- Look up the other CPUs your laptop model shipped with. These are your realistic upgrade candidates.
- Check the maker’s support page for a BIOS update, since a newer chip often needs newer firmware to boot.
If any step points to a soldered BGA chip, stop and jump to the alternatives section. No amount of care at home will let you swap a soldered CPU, and pushing ahead risks a laptop you can no longer use.
What you need before you swap a socketed CPU
If your checks confirm a socketed PGA chip, you can plan the swap. Gather these first so you are not stuck halfway through with the laptop in pieces.
- A compatible replacement CPU. It must fit the same socket and, ideally, be one your model already shipped with. Match the power rating too. A chip with a higher TDP, the watt figure for how much heat it makes, can overwhelm your cooling and throttle or overheat.
- The latest BIOS. Update the BIOS to the newest version from the maker before you open anything. Firmware often adds support for newer chips, and installing a CPU the current BIOS does not recognize can stop the laptop booting at all.
- Fresh thermal paste. You will lift the heatsink off the old chip, so you need new paste to seat the cooler back onto the new one. Old paste dries out and must be cleaned off.
- An anti-static wrist strap. Static electricity can quietly kill computer parts. A strap that grounds you to a metal surface protects the board while you work.
- The right screwdrivers and a service manual. Laptops use small precision screws, and the manual shows the exact teardown order for your model.
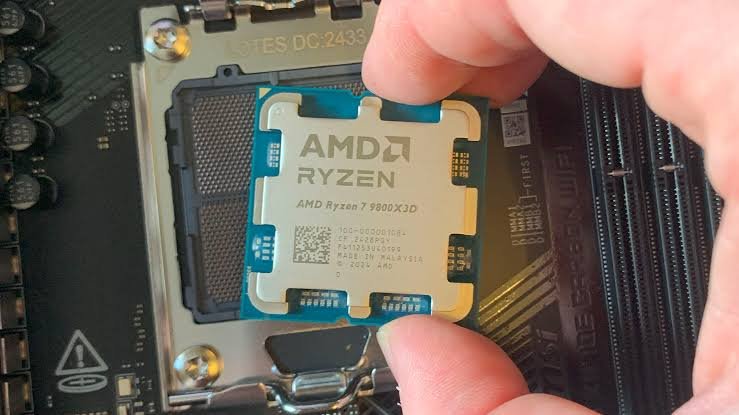
For thermal paste guidance and safe temperature targets, chip makers publish their own numbers. AMD’s Ryzen Master tool, for example, shows live temperatures so you can confirm your reseated cooler is doing its job after the swap.
How to replace a socketed laptop CPU, step by step
This applies only to a socketed PGA laptop. Work on a clean, static-safe surface, keep track of your screws, and take a photo at each stage so reassembly is easy. Take your time; there is no prize for speed.
- Power down fully, unplug the charger, and remove the battery if it is removable. Hold the power button for a few seconds to drain any leftover charge.
- Put on your anti-static strap and clip it to bare metal. Keep it on the whole time.
- Open the case following your service manual. This often means removing the bottom panel, and on some models the keyboard, to reach the motherboard.
- Find the CPU under the heatsink and fan. Unscrew the heatsink in the order printed on it, usually a cross pattern, then gently lift it away.
- Clean the old thermal paste off the heatsink with a lint-free cloth and a little isopropyl alcohol. Let it dry.
- Unlock the socket. There is a small screw or cam next to the CPU. Turn it counterclockwise until it stops. This releases the chip.
- Lift the old CPU straight up and out. Do not tilt or wiggle it, since bent pins are easy to cause and hard to fix.
- Line up the new CPU. There is a marked corner, often a small triangle, that matches a mark on the socket. Lower it in gently. It should drop into place with no force. If it needs a push, it is not aligned; lift and try again.
- Lock the socket by turning the screw clockwise until it stops.
- Apply a small dot of fresh thermal paste, about the size of a grain of rice, to the center of the chip. Reattach the heatsink in the same cross order, snug but not overtightened.
- Reassemble in reverse, refit the battery, and power on. Enter the BIOS and confirm the new CPU is detected. Then boot into your system and watch temperatures under load for the first hour.
If the laptop does not boot, the most common causes are a BIOS that does not support the new chip, a CPU seated slightly off, or a loose heatsink triggering thermal protection. Reseat carefully before assuming the chip is faulty.
If your CPU is soldered: the upgrades that actually help
A soldered CPU is fixed, but it is rarely the only thing slowing a laptop down. In everyday use, storage and memory are far more often the real bottleneck, and both are usually easy and cheap to change.
Swap the hard drive for an SSD
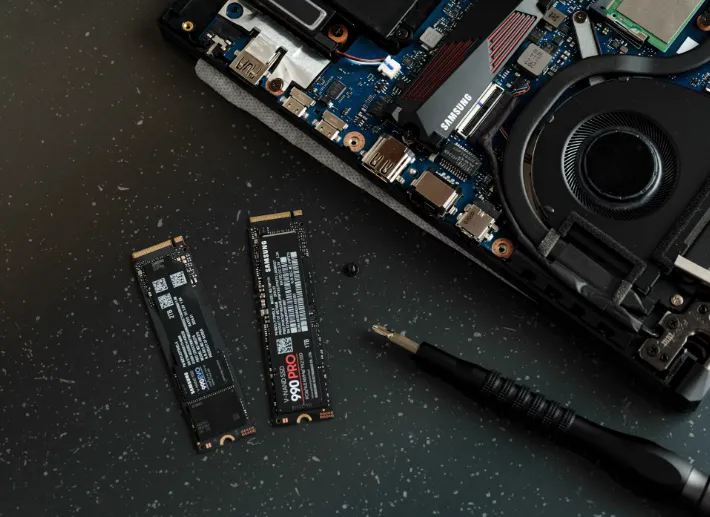
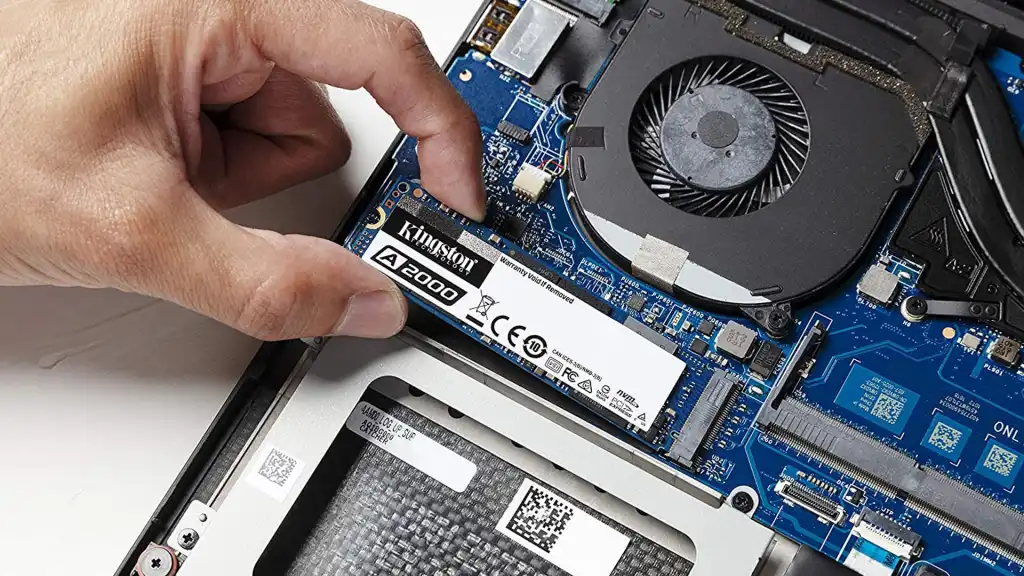
If your laptop still boots from a spinning hard drive, this is the single biggest speed jump you can buy. A solid-state drive has no moving parts and reads data many times faster. Boot times drop from a minute to seconds, apps open almost instantly, and the whole machine feels new. On many laptops this is a ten-minute job with one panel and a couple of screws.
Add more RAM
If your laptop runs out of memory, it slows to a crawl when you open lots of tabs or big files. Many laptops have RAM slots you can reach and fill. Going from 8GB to 16GB, for example, gives multitasking a lot of breathing room. Check your service manual for the maximum your board supports and the correct type before buying.
Clean out dust and repaste
A laptop that gets hot and then slows down is often just clogged with dust or running on dried thermal paste. Cleaning the fan and vents and applying fresh paste can restore performance the machine lost to overheating. This costs almost nothing and helps even on a soldered system.
For most people with a soldered CPU, an SSD plus a RAM bump delivers a bigger real-world speed boost than a CPU swap ever would, at a fraction of the risk and cost.
Is a laptop CPU upgrade worth it?
Usually not, and here is the plain math. Even when a swap is possible, you are limited to chips from the same era as your board. Jumping from an i5 to an i7 of the same generation often buys a modest gain, not a transformation, because they share core counts and clocks and differ mainly in cache or turbo behavior.
Add up the cost of a compatible used chip, new thermal paste, and the hours of careful teardown, then weigh it against the risk of bent pins or a board that will not boot. For an old laptop, that money is often better spent on an SSD, more RAM, or set aside toward a newer machine that will run modern software and get security updates.
There is one case where a CPU swap makes sense: you own a socketed laptop, you enjoy the hands-on work, and you can source a top-end chip for that socket cheaply. Then the upgrade can squeeze real extra life out of a machine you already like. Outside that, the faster and safer wins are almost always storage and memory.
Frequently asked questions
Can I upgrade an Intel laptop CPU to a newer generation?
Almost never. Even socketed laptops only accept chips from the same generation and socket, because a newer generation uses a different socket and needs different firmware. Match your existing socket, not the newest chip on the market.
How do I know if my laptop CPU is soldered?
Open CPU-Z and check the Package field on the CPU tab. If it contains BGA, the chip is soldered and fixed. If it shows PGA, it sits in a socket and can be replaced. Your service manual confirms it too.
Will a faster CPU void my laptop warranty?
Opening the case and changing the CPU usually voids the warranty on most consumer laptops. If your machine is still covered, weigh that before you start, since a soldered chip you cannot swap makes the point moot anyway.
What is cheaper, upgrading the CPU or buying a new laptop?
For a slow older laptop, an SSD and RAM upgrade is the cheapest real speed boost. A CPU swap costs more in parts and risk for a smaller gain. If the laptop can’t run current software, saving toward a new one often wins.
Does upgrading RAM or an SSD help more than the CPU?
For everyday tasks, yes. Slow storage and low memory cause most of the lag people blame on the processor. An SSD and a RAM bump are cheap, low-risk, and usually deliver a bigger felt improvement than a CPU change.
Note: This is a sensitive area for hardware. Always back up your data and confirm compatibility before opening your laptop.
Conclusion
Most laptop CPUs are soldered on and cannot be upgraded, so your first move is to check: run CPU-Z and read the Package field, and confirm with your service manual. If it says PGA, you can swap the chip by matching the socket, updating the BIOS, and working carefully with fresh paste and an anti-static strap. If it says BGA, put your money into an SSD and more RAM instead. A good result is a noticeably faster laptop with no risk of a machine that will not turn back on.
Recommended Articles:
White Spot on Laptop Screen: What It Is and How to Fix It
Acer Laptop Monitor Not Working? Here’s How to Fix It
3.5 mm Jack Not Working on Laptop? Here’s How to Fix It
What Laptop Screen Pressure Damage Is and How to Deal With It
How to Restore a Toshiba Satellite Laptop to Factory Settings