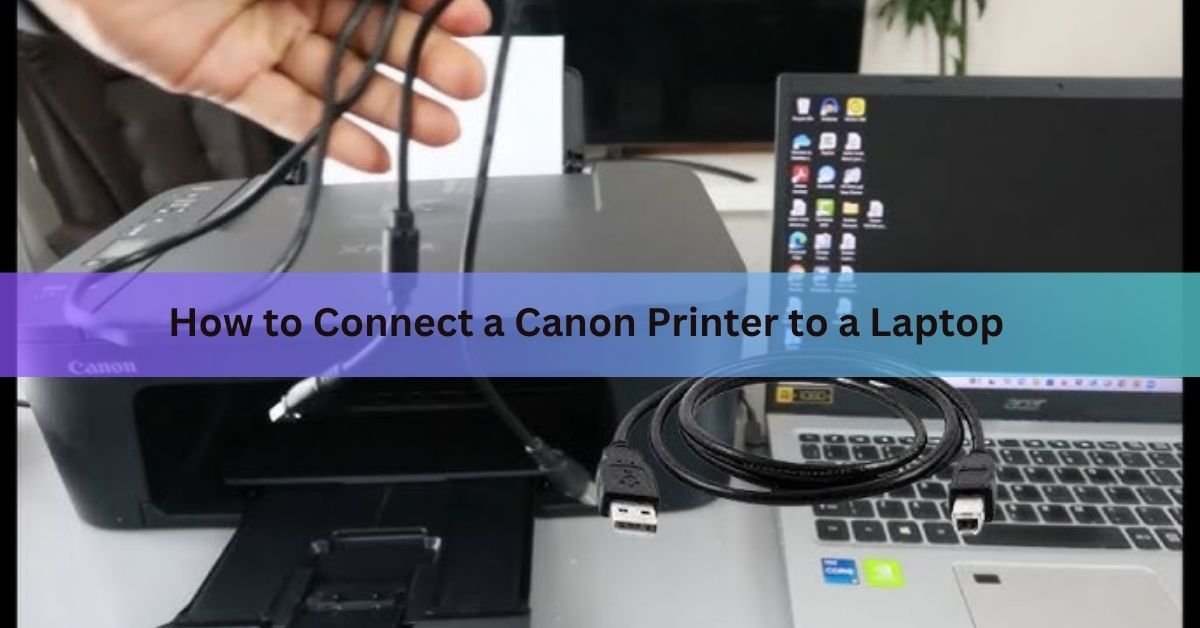
Connecting a Canon printer to a laptop takes under five minutes in most cases. Plug in a USB cable and Windows or Mac installs the driver almost automatically. For wireless printing, you join the printer to your home Wi-Fi and then add it in your laptop’s settings. If your router has a WPS button, the whole thing can be done in about 60 seconds without entering a password.
This guide covers all three methods and both operating systems, so skip to whichever section matches your setup.
Which connection method is right for you?
Three paths get a Canon printer talking to a laptop. Here is a quick comparison to help you pick the right one before you start.
| Method | Best for | What you need |
| USB cable | Single laptop, desk setup, no Wi-Fi needed | USB-A to USB-B cable (often included) |
| Wi-Fi (wireless) | Multiple devices, printing from anywhere in the house | Wi-Fi network name and password |
| WPS button | Fastest wireless option if router supports it | Router with a WPS button, using WPA/WPA2 security |
Once you know which method fits, follow the relevant section below.
Method 1: Connect via USB (Windows)
A USB connection is the most straightforward option. Windows 10 and Windows 11 both detect the printer as soon as the cable goes in and usually install a working driver on their own within a minute or two.
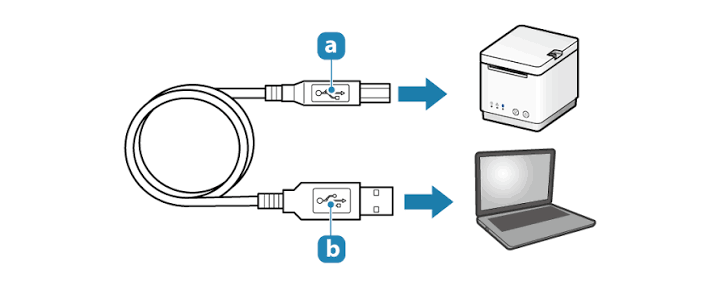
Before you start, check the USB cable. Most Canon PIXMA printers use a USB-A to USB-B cable (the square connector goes into the printer). If your laptop only has USB-C ports, you will need a USB-C to USB-A adapter or a USB-C to USB-B cable.
Steps:
- Turn the printer on.
- Plug the USB cable into the printer, then plug the other end into your laptop.
- Windows will detect the printer and show a notification — usually something like “Setting up Canon [model].” Let it finish.
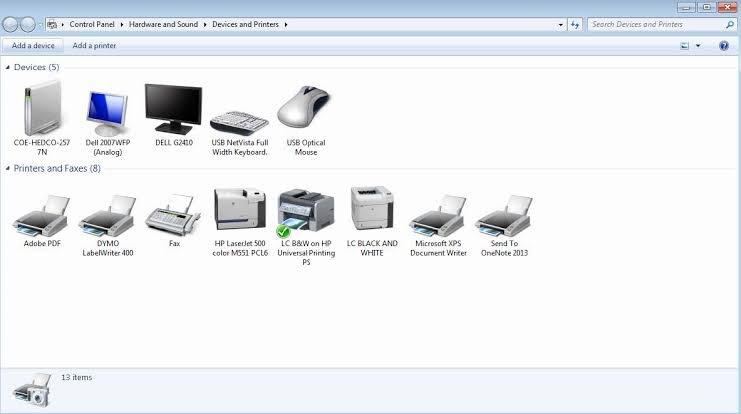
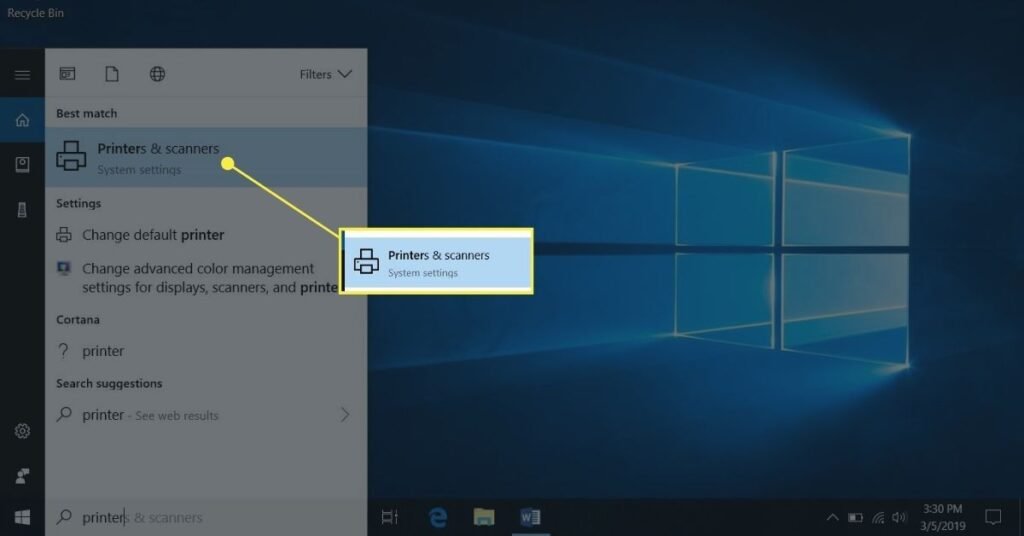
- Once it completes, open Settings (Windows key + I), go to Bluetooth & devices then Printers & scanners, and confirm your Canon model appears in the list.
- Right-click the printer and select “Print test page” to confirm everything is working.
If Windows does not install the driver automatically, go to the Canon Support page, type your exact model number in the search box, and download the driver and software installer for your operating system. Run the installer and follow the on-screen steps.
Method 2: Connect via Wi-Fi (Windows)
Wireless printing lets multiple devices share one printer without cables. The process has two stages: first, get the printer onto your Wi-Fi network; second, add it to Windows. The printer and the laptop must be on the same network name (SSID) for printing to work.
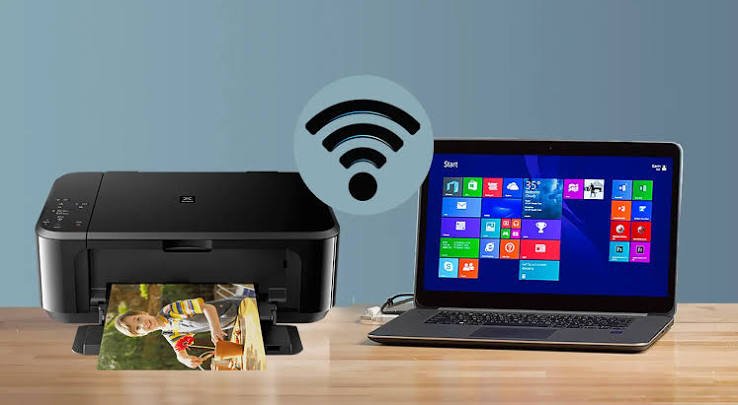
There are three ways to get the printer onto Wi-Fi, depending on your printer model and your router. Pick the one that matches your situation.
Option A: Use the printer’s touchscreen (most PIXMA and MAXIFY models)
- Most current Canon printers have a small screen that lets you select a network directly.
- On the printer, press the Menu or Setup button.
- Navigate to Device Settings then LAN Settings then Wireless LAN Setup (exact wording varies slightly by model).
- Select your Wi-Fi network name from the list that appears.
- Enter your Wi-Fi password using the on-screen keyboard. Take your time here — a single wrong character means starting over.
- The screen should display a confirmation message once connected.
- On your laptop, open Settings, go to Bluetooth & devices then Printers & scanners, and click Add a printer or scanner. Wait for your Canon to appear, then select it and click Add device.
Option B: WPS push-button method (quickest, no password needed)
If your router has a WPS button (usually on the back or side), this is the fastest path. You do not need to type a password, and it normally takes under 60 seconds. Your router must use WPA or WPA2 security for WPS to work.
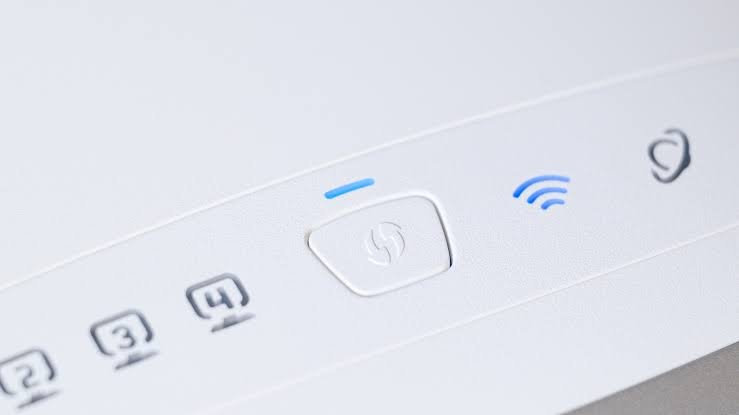
- On the printer, press and hold the Wi-Fi button until the Wi-Fi lamp flashes.
- Within two minutes, press the WPS button on your router and hold it for two to three seconds.
- The printer and router will pair automatically. When the Wi-Fi lamp on the printer stops flashing and stays solid, you are connected.
- On some Canon models, you first need to go into the Wi-Fi setup menu and select “WPS (Push Button Method)” before pressing the router button. Check your model’s printed guide if the lamp method does not work.
- Add the printer to Windows: Settings then Bluetooth & devices then Printers & scanners then Add a printer or scanner. Click your Canon when it appears.
Option C: Manual setup for printers with limited displays
Older or simpler Canon models with just a few physical buttons and no screen use a slightly different path. You will need your Wi-Fi name and password ready.
- Press the Setup button on the printer (looks like a wrench or gear icon).
- Use the arrow buttons to navigate to Device Settings then LAN Settings then Wi-Fi then Wi-Fi Setup then Manual Connect and press OK.
- The printer scans for networks and shows a list of SSIDs. Select yours.
- Enter the password. On models without a touch keyboard, use the arrow keys or press the Tone/Star (*) button to cycle between letters, numbers, and symbols.
- Once connected, add the printer to Windows as described in Option A above.
Method 3: Connect a Canon printer to a Mac
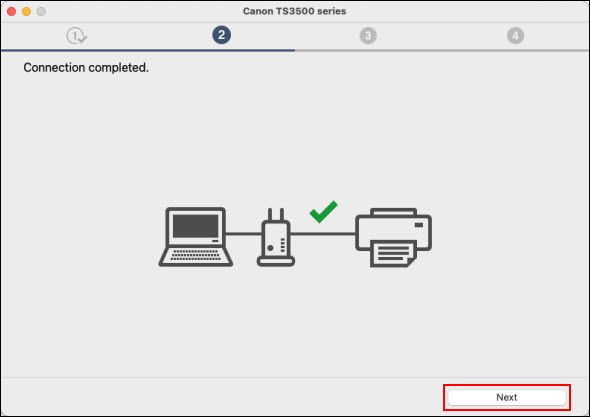
The process on a Mac is similar but uses different menu names. macOS recognizes most Canon PIXMA models automatically — especially newer ones that support AirPrint, which requires no driver installation at all.
Via USB on a Mac
- Plug the USB cable into the printer and into the Mac.
- Go to Apple menu then System Settings (or System Preferences on older macOS) then Printers & Scanners.
- Click the + button to add a printer. Your Canon should appear in the list — select it and click Add.
- If macOS asks which driver to use, select the Canon option from the dropdown or choose “Generic PostScript Printer” as a fallback.
Via Wi-Fi on a Mac
- First connect the printer to your Wi-Fi network using the touchscreen or WPS method described in Method 2.
- On the Mac, open System Settings then Printers & Scanners and click + to add a printer.
- Your Canon should appear under the Default tab once it is on the same network. Select it and click Add.
- macOS will download drivers if needed. For full scanner functionality, you may also want to download the Canon IJ Scan Utility from the Canon Support page.
Tip: On recent macOS versions, AirPrint handles printing for most Canon PIXMA TS and TR series without any driver download. If your Canon appears and prints correctly after adding it, you are done.
Troubleshooting: when the printer does not show up
Most connection problems come down to a handful of causes. Here is what to check if the printer is not appearing or not printing.
The printer does not appear in the list
Make sure the printer and the laptop are on the same Wi-Fi network name (SSID). This is the most common cause of a printer not being found. If your router broadcasts two separate networks (for example, “HomeNetwork” and “HomeNetwork_5G”), the laptop and the printer must be connected to the same one.
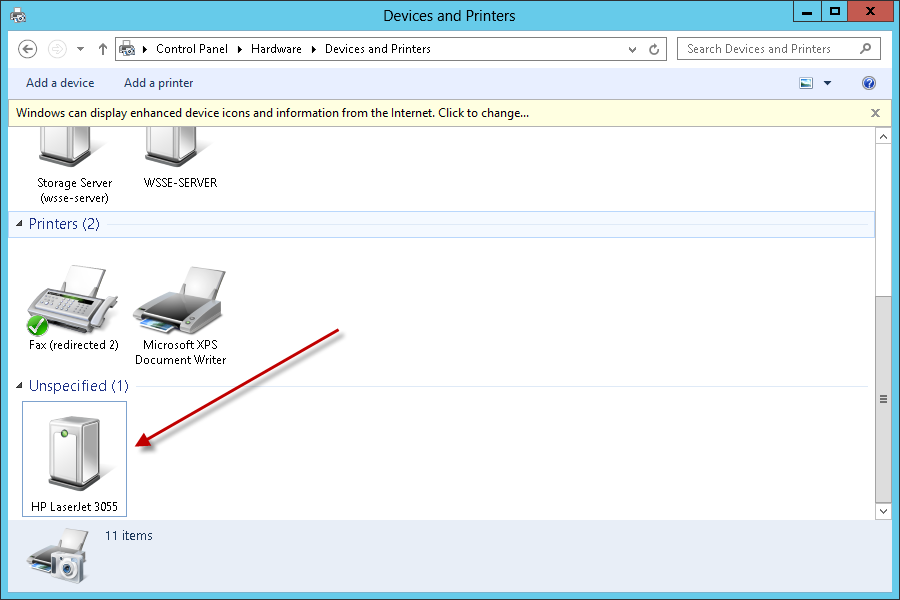
Restart both the printer and the router. Then on Windows, go to Settings, Bluetooth & devices, Printers & scanners, and click Add a printer or scanner. Wait 30 seconds before assuming it failed — the scan can be slow.
The 5 GHz problem
This catches a lot of people by surprise. The vast majority of Canon PIXMA and MAXIFY printers only connect to 2.4 GHz Wi-Fi networks. They cannot see or join a 5 GHz network at all, even if your laptop connects to 5 GHz without any issue.
If your router uses the same name for both bands (a setup called “band steering”), the printer may fail silently because it attempts the 5 GHz signal and cannot connect. The fix is to split the two bands into different SSIDs in your router settings — for example, “HomeNetwork” for 2.4 GHz and “HomeNetwork_5G” for 5 GHz. Then connect the printer to the 2.4 GHz one and the laptop to whichever you prefer. Both will be able to print as long as the printer is on the 2.4 GHz network.
Driver errors or “Windows cannot install the driver”
If Windows fails to install the driver automatically, the reliable fix is to download it directly from Canon. Go to the Canon Support page, type your exact model number (it is printed on a sticker on the printer itself), and download the full driver and software package for your version of Windows. Run the installer with the printer powered on and, for USB, with the cable already plugged in.
If you see duplicate Canon entries in Printers & scanners, remove the ones that are not working before adding the printer again. Duplicate entries with the same name can confuse Windows into sending jobs to a non-functional entry.
Printer appears connected but does not print
Check that there are no stuck jobs in the print queue. Open Printers & scanners on Windows, click your Canon, select Open print queue, and cancel any pending jobs. A stuck job can block everything that follows it.
Also confirm the printer is not set to offline mode. In the print queue window, go to Printer in the menu bar and make sure “Use Printer Offline” is not checked.
Frequently asked questions
Does my Canon printer need to be on the same Wi-Fi as my laptop?
Yes. For wireless printing to work, the printer and the laptop must be connected to the same network name (SSID). If they are on different networks, even on the same router, the laptop cannot see the printer.
Why can my Canon printer not find my Wi-Fi?
The most likely cause is that your router is broadcasting a 5 GHz-only signal. Most Canon printers only support 2.4 GHz. Check your router settings and enable 2.4 GHz, or give the two frequency bands different network names so you can connect the printer to the correct one.
Do I need to install a driver to connect my Canon printer?
On Windows 10 and 11, a basic driver often installs automatically when you plug in the USB cable or add the printer wirelessly. For full functionality, including scanning, download the full driver package from Canon’s support site using your exact model number.
How do I connect my Canon printer to a laptop without a CD?
Go to support.usa.canon.com, search for your printer model, and download the driver directly. No CD required. The downloaded installer works exactly the same way.
Can I connect my Canon printer to more than one laptop?
Yes. Once the printer is on your Wi-Fi network, any laptop on the same network can add it through Printers & scanners. Each device goes through the “Add a printer or scanner” step once, but the printer itself only needs to be set up on Wi-Fi once.
Conclusion
To connect a Canon printer to a laptop: use USB for the simplest single-device setup (Windows installs the driver automatically), or connect the printer to your Wi-Fi network first — using the touchscreen, WPS button, or manual setup — then add it in Printers & scanners. On a Mac, the steps are nearly identical. If the printer does not appear, confirm both devices are on the same 2.4 GHz network and grab the latest driver from Canon’s support site if needed. Once it is set up, it stays connected and ready to print.
Acer Laptop Won’t Turn On? Here’s How to Fix It (Step by Step)
How to Work on the Couch with a Laptop Comfortably
Can You Pack a Laptop in Checked Luggage? What the Rules Actually Say
How to Optimize Your Gaming Laptop for 4K (Without Buying a New One)
White Spot on Laptop Screen: What It Is and How to Fix It
Does a Laptop Have a Lithium Battery? What’s Inside and Why It Matters