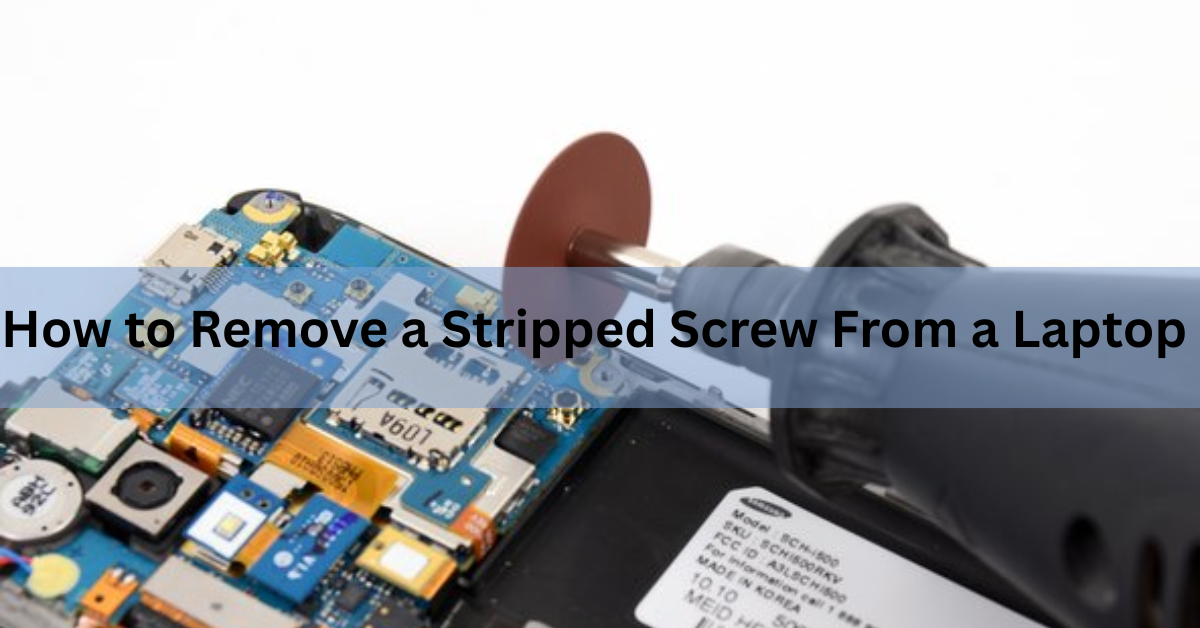
A stripped screw is one whose head is so worn that your screwdriver just spins in place with no bite. To get it out of a laptop, start with the gentlest method and only move up if you need to. Lay a thin rubber band over the screw, press your driver in hard, and turn slowly. If that fails, try a bigger or flat-head driver, then pliers, then cutting a fresh slot, then a screw extractor bit. Drilling the head off is the last resort.
Laptop screws are the trickiest kind to deal with. They are small, made of soft metal, and often sunk deep inside a narrow well, sometimes just a few millimeters above the motherboard. That closeness is why the order of these steps matters. Below is each method in plain steps, plus how to keep from stripping the next one.
Quick guide: which method to try
Here is the short version, from safest to most aggressive. Work down the list and stop as soon as one works.
| Method | Best for | Risk to your laptop |
|---|---|---|
| Rubber band | Lightly worn heads that still spin | Very low |
| Bigger or flat-head driver | One or two grooves still intact | Very low |
| Superglue the driver on | Shallow damage, no tools handy | Low |
| Screw-extracting pliers | Heads that sit above the surface | Low |
| Cut a new slot | Round heads with nothing left to grip | Medium |
| Screw extractor bit | Fully rounded but reachable heads | Medium |
| Drill off the head | Nothing else worked | High |
The rest of this guide walks through each one.
First, check: is the screw really stripped?
Before you reach for any tool, make sure the head is actually the problem. Sometimes a screw feels stuck for a different reason, and the fix is different too.
Look closely at the head. A stripped one has rounded or filled-in grooves where the driver used to sit. If the grooves still look sharp but the screw won’t turn, the head may be fine and something else is holding it. Two common culprits: the screw is glued in with thread-lock (a dab of blue or red compound the factory adds so screws don’t rattle loose), or it is a captive screw, which is designed to stay attached to the panel and only loosen a few turns, never come all the way out.
A quick way to spot a captive screw: it spins freely and loosens, but stays seated in the panel no matter how much you turn. That is normal, so leave it in place and lift the panel off. A thread-locked screw feels different again, solid and immovable on the first turn, then suddenly free once you break it loose.
If the driver keeps slipping and each try makes the grooves shallower, then yes, it is stripping. That is your signal to switch tactics right away.
The one rule that saves the most laptops
The moment your driver slips even once, stop pushing. Every extra twist grinds away more of the head and turns an easy fix into a hard one.
Laptop screws are soft. A head that is only lightly worn will still grip a rubber band or a slightly bigger driver. A head you have ground down to a smooth circle leaves you drilling. So the first rule is not a tool at all: it is to notice the slip and stop.
Two more habits help before you start. Set your laptop on a flat, well-lit surface so you can see straight down into the screw. And keep a small container nearby, because the screws you remove are easy to lose and often come in two or three different lengths that must go back in the right holes.
Method 1: Try a rubber band for extra grip
The rubber band trick is the first thing to try because it costs nothing and can’t hurt your laptop. The band fills the gaps in the worn head and grabs your driver, giving it something to bite.
- Lay a wide, thin rubber band flat across the screw head.
- Press the screwdriver straight down into the band and the screw, hard.
- Keeping that downward pressure, turn slowly counterclockwise (to the left).
The pressure matters more than speed. Push down as if most of your effort is going into the screw, not into turning it. A balloon or a thin scrap of cloth works the same way if you don’t have a band handy. Expect to go through a couple of bands, since the driver tends to chew them up.
This works well on lightly worn heads. If the driver still spins free after a few honest tries, move on rather than grinding the head down further.
Method 2: Switch to a different or bigger driver
A stripped head often still has one or two good grooves left. The right driver can catch them.
Try a driver one size larger first. It sounds backward, but a slightly bigger tip can bridge the worn center and grab the outer edges of the head. If your screw is a Phillips (the cross shape), also try a small flat-head driver wedged into one of the surviving slots. The flat blade only needs one good edge to turn against.
The same warning applies: if the new driver doesn’t catch on the first try, don’t force it. A bit that skips across the head is just polishing it smoother. Good drivers help here too, since cheap, soft driver tips deform and strip screws faster than hardened ones do.
Method 3: Glue the screwdriver to the screw
If grip is the whole problem, you can create grip with a drop of glue. This bonds the driver directly to the screw so they turn as one piece.
- Put a tiny dab of superglue on the tip of your screwdriver, not in the hole.
- Set the driver into the screw head and hold it dead still.
- Wait for the glue to set (a couple of minutes for most superglues), then press down firmly and twist.
Use only a pinhead-sized amount, and keep it on the driver tip. Too much glue can run down the sides and bond the screw into the case, or seep onto nearby parts.
When the screw comes loose, clean the dried glue off your driver tip before you use it again. This method suits shallow damage and is worth trying before you move to anything sharp.
Method 4: Grab the head with screw-extracting pliers
Once the screw sticks up above the surface, gripping the outside of the head can beat any driver. For flush screws this won’t work, but for ones that protrude, it often does.
If the head is above the surface, clamp locking pliers (vise grips) or needle-nose pliers onto the sides of the head, squeeze tight, and turn left. Purpose-made screw-extracting pliers from iFixit have vertical teeth that bite into a rounded head better than smooth jaws, which is handy for the tiny, slick heads on laptops.
The catch with laptops is room. Many screws sit at the bottom of a deep, narrow well where pliers simply can’t reach. If yours is recessed, skip ahead. If you can get even a partial grip and back the screw out a turn or two, the exposed threads then let you finish the job by hand.
Method 5: Cut a fresh slot in the head
When the head is rounded and nothing grips, you can carve a brand-new groove and turn it like a flat-head screw. This is where things get more aggressive, so slow down and protect your laptop.
A rotary tool such as a Dremel with a thin cutting disc is the usual choice. iFixit’s guide on removing a stripped screw with a rotary tool recommends a low speed and a single, shallow cut. Set the tool to a low setting, make one thin slot across the head deep enough for a flat-head driver but no deeper, then fit the largest flat-head that sits in the cut and turn.
- Put on eye protection. Cutting metal throws sparks and tiny shards.
- Cut one shallow, straight slot across the middle of the head at low speed.
- Fit a flat-head driver into the new slot and turn counterclockwise.
The real danger here is metal filings. Cutting scatters tiny shavings that can settle on the board and cause an electrical short. Cover nearby openings, and blow the area out with a few good blasts of compressed air before you power the laptop back on.
No rotary tool? A small hand file or a hacksaw blade held by hand can cut a slot on a screw that sticks out, though it takes patience and a steady hand.
Method 6: Use a screw extractor bit
A screw extractor is a small bit made just for this. Its reverse threads dig into the damaged head and bite harder the more you turn, backing the screw out with it.
Full-size extractor sets from the hardware store are built for bolts and are usually far too big for laptop screws. Look instead for a micro or precision extractor kit made for electronics, with bits sized to tiny screws. You use it in two stages: drill a shallow starter hole in the center of the head, then switch to the extractor bit and turn counterclockwise so it grabs and lifts the screw out.
- Match the extractor to the screw. The bit’s tip must be smaller than the screw head, and the whole tool must fit down the well.
- Drill a small, shallow pilot hole in the exact center of the head, at low speed.
- Fit the extractor bit into that hole and turn counterclockwise, pressing down, until it bites and the screw backs out.
Go slow and stay centered. On a screw this small there is very little metal to work with, and an off-center hole or too much force can snap the screw or chew up the threaded hole it sits in. A drop of cutting oil or even water on the pilot hole helps the bit cut cleanly and keeps the tip from skating. If the head is buried too deep for the tool to reach, this method is out.
Method 7 (last resort): Drill the head off
When every other method has failed, you can drill the head off entirely. This is a one-way street, so treat it as the final option.
The idea is simple: use a metal drill bit a little narrower than the screw head and drill straight down into the head at low speed. The head shears off like the top of a rivet, and the panel it was holding comes free. With the cover off, enough of the screw’s body is usually left sticking out of the frame that you can grip it with pliers and unthread it by hand.
Two things to accept before you start. First, you will very likely need a new screw, because drilling destroys this one. Second, the same shavings warning applies in full: blow the area out with compressed air so no metal is left near the electronics. Keep the drill dead straight so you take off only the head and not whatever sits beneath it. If the screw is buried millimeters above the motherboard and you are not confident, this is the point to hand it to a repair shop instead.
How to stop it from happening again
Most stripped laptop screws come from one of a few small mistakes. Fixing your habits keeps the next repair clean.
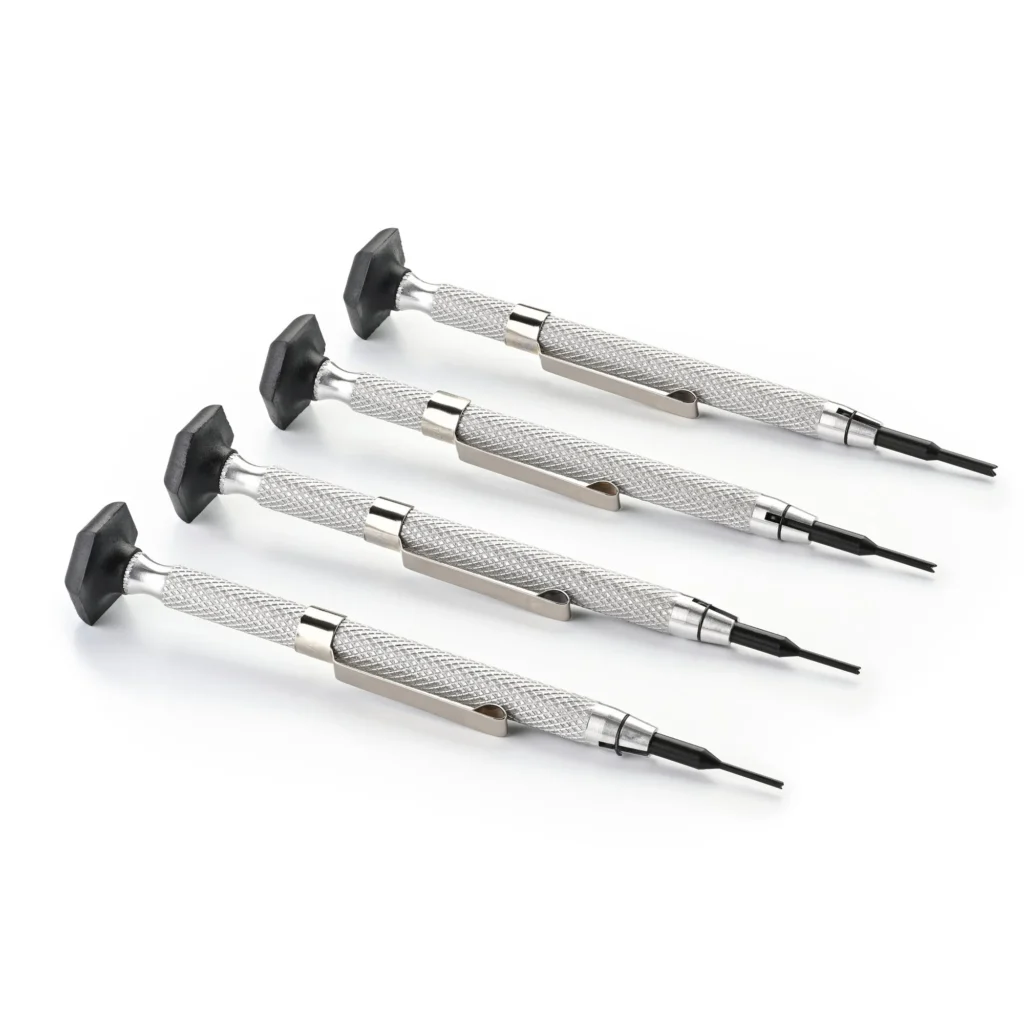
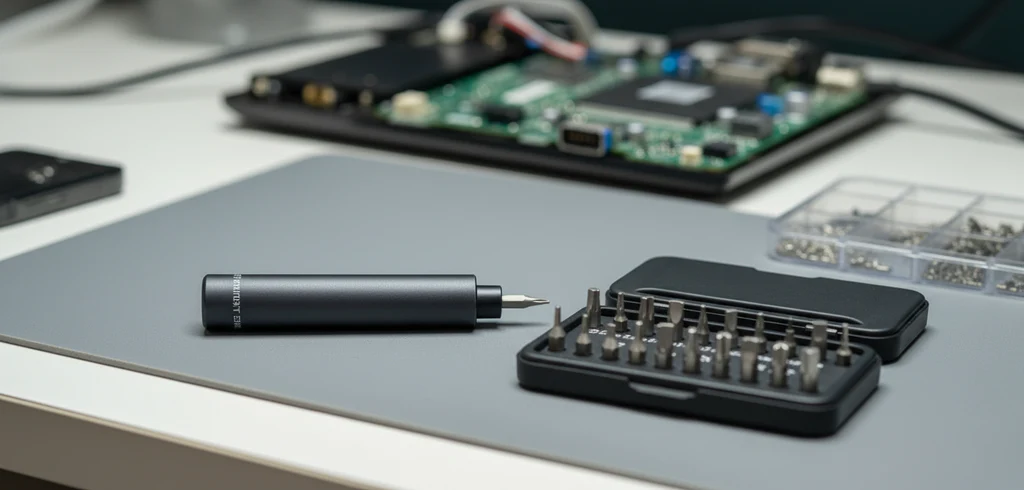
- Use the right driver. A tip that is too small or the wrong shape is the number-one cause. Most laptops use tiny Phillips (PH000 or PH00) or Torx screws, so a precision electronics screwdriver set with small bits is worth owning.
- Push before you turn. Press firmly straight down so the tip stays seated, then turn. A driver that lifts out of the head is what rounds the grooves.
- Break it loose first. The first move should be a short, firm counterclockwise turn to crack the screw loose, not a slow grind. Factory thread-lock makes the first turn the hardest.
- Don’t overtighten on the way back. Snug is enough. Cranking screws down hard is what makes them strip the next time you open the laptop.
- Replace any screw you damaged. A screw with a worn head will strip again fast, so swap it for a fresh one of the same size.
Frequently asked questions
Can I remove a stripped laptop screw without any special tools?
Often, yes. A rubber band laid over the head plus firm downward pressure works on lightly worn screws, and a small flat-head driver can catch a surviving groove. Special tools only come in when the head is fully rounded.
What size screwdriver do laptop screws need?
Most laptops use very small Phillips screws, usually PH000 or PH00, and some use Torx. A precision electronics screwdriver set covers these sizes. Using a tip that is too big or too small is the main reason screws strip in the first place.
Why does my screwdriver just spin in the screw?
The head’s grooves are worn smooth, so the driver has nothing to grip. Stop turning right away, since each spin wears it down more. Switch to a rubber band, a different driver, or a grip method before the head rounds off completely.
Is it safe to drill a screw out of a laptop?
Only as a last resort and with care. Drill straight and slow to take off just the head, and blow out all metal shavings with compressed air before powering on, as loose filings can short the board. If the screw sits close to the motherboard, a repair shop is safer.
What is thread-lock and why won’t my screw budge?
Thread-lock is a dab of compound the factory adds so screws don’t vibrate loose. It can make a screw feel stripped when the head is fine. A short, firm first turn usually breaks it loose. Gentle heat from a soldering iron tip can soften stubborn thread-lock.
Conclusion
Work from gentle to aggressive and you will usually save both the screw and the laptop. Start with a rubber band for grip, then try a bigger or flat-head driver, glue, or pliers. If the head is fully rounded, cut a new slot or use a small extractor bit, and drill the head off only as a last resort. A good result is the screw out, no metal shavings left near the board, and a fresh screw ready to go back in. Stop the instant your driver slips, and you will rarely need the harsher steps.
Recommended Articles:
White Spot on Laptop Screen: What It Is and How to Fix It
How to Replace a Laptop CPU (and How to Tell If Yours Can Be)
How to Restore a Toshiba Satellite Laptop to Factory Settings
What Laptop Screen Pressure Damage Is and How to Deal With It
Heat Damage to a Laptop Screen: What It Looks Like and What to Do